How to Set Up VPN on Windows Step by Step 2026
Protecting your online privacy has never been more important. Whether you’re working from home, traveling, or just want to keep your data secure, a VPN (Virtual Private Network) is one of the best tools available. This guide walks you through setting up a VPN on Windows in 2026, from choosing a provider to connecting successfully.
This tutorial takes about 15 to 20 minutes total. Most VPN services cost between $3 to $12 per month, though several offer free options with limited features.
What You Need First
Before you start, make sure you have a few things ready. First, you’ll need a Windows 10 or Windows 11 device with admin access. Your internet connection should be working properly before you begin.
Next, decide on a VPN provider. Popular options in the US include ExpressVPN, NordVPN, Surfshark, and CyberGhost. Each offers different features and pricing. We recommend ExpressVPN for speed and reliability, though it costs $12.95 per month or $99.95 for a year.
Finally, have your VPN account login credentials ready. You’ll need these during setup. Most providers email this information right after you sign up.
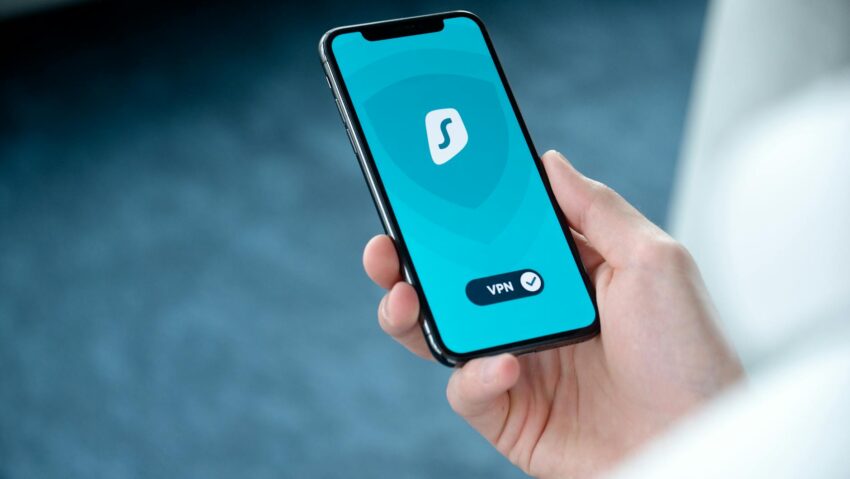
Method 1: Installing a Third-Party VPN App
This is the easiest method for most people. Third-party VPN providers like ExpressVPN handle most of the setup for you automatically.
Step 1: Download the VPN Application
- Open your web browser and go to your VPN provider’s official website
- Look for a button labeled “Download” or “Get Started”
- Click the download button for Windows
- The installer file will download to your Downloads folder
- Wait for the download to complete before moving forward
Step 2: Install the VPN Application
- Open your Downloads folder by pressing Windows key + E
- Find the VPN installer file you just downloaded
- Double-click on the installer to open it
- Windows may ask “Do you want to allow this app to make changes to your device?” Click “Yes”
- Follow the on-screen instructions that appear
- Click “Install” or “Next” when prompted
- Wait for the installation to complete, then click “Finish”
Step 3: Launch and Sign In
- The VPN app should open automatically after installation
- If it doesn’t, go to your Start menu and search for your VPN provider’s name
- Click the app icon to open it
- You’ll see a login screen asking for your credentials
- Enter the email address associated with your VPN account
- Enter your password in the password field
- Click “Sign In” or “Log In”
Step 4: Choose Your VPN Server and Connect
- Once signed in, the main app window appears
- You’ll see a map or list of available VPN servers
- Click on a server location, or select “Auto” to pick the fastest one
- Find and click the large “Connect” button, usually in the center of the screen
- The button will change color and show “Connected” when successful
- Your IP address is now masked and your traffic is encrypted
That’s it! You’re now connected to a VPN. Your internet traffic flows through the VPN server, and websites see the VPN’s IP address instead of yours.

Method 2: Using Windows Built-in VPN Settings
Windows has a built-in VPN client for more technical users. This works well if your company provides VPN credentials or if you’re using a protocol-based VPN service.
Step 1: Open VPN Settings
- Click the Windows Start button in the bottom left corner
- Type “Settings” and click the Settings app
- Click “Network & internet” on the left side menu
- Click “VPN” in the list of network options
- You’re now in the VPN settings area
Step 2: Add a VPN Connection
- Click the button labeled “Add VPN” or “Add a VPN connection”
- A new window opens with fields to fill in
- For “VPN provider,” select “Windows (built-in)” from the dropdown menu
- In the “Connection name” field, type a name like “My VPN” or your company name
- In the “Server name or address” field, enter the VPN server details your provider gave you
- For “VPN type,” choose the protocol your provider specified (usually IKEv2, L2TP, or SSTP)
- For “Type of sign-in info,” select “Username and password” or “Certificate” depending on your setup
Step 3: Enter Your VPN Credentials
- If you selected “Username and password,” enter your VPN username
- Enter your VPN password
- Check the box next to “Remember my sign-in info” if you want Windows to save your password
- Click “Save” at the bottom of the window
Step 4: Connect to Your VPN
- In the VPN settings window, find your newly created connection in the list
- Click on it once to select it
- Click the “Connect” button that appears
- Windows will attempt to connect to the VPN server
- Once connected, you’ll see “Connected” next to your VPN name
The Windows built-in method works, but it lacks the user-friendly features of third-party apps. We’d recommend using a dedicated VPN app instead for most users.
Method 3: Using VPN Protocols Manually
Some advanced users want to set up specific VPN protocols like OpenVPN or WireGuard. This requires downloading separate software from the VPN provider.
Most VPN apps handle this automatically, so you don’t need to worry about it. If your provider mentions “OpenVPN config files” or “WireGuard keys,” they’ll provide detailed instructions for your specific service.
Verifying Your VPN Connection
Once you’re connected, it’s good to confirm everything’s working correctly. Here’s how to check:
Check Your IP Address
- Open your web browser
- Go to a site like “whatismyipaddress.com” or “ipleak.net”
- Look at the IP address shown
- It should be different from your actual IP address and match your VPN server location
- If it matches your normal IP, your VPN isn’t connected properly
Check Your VPN App Status
- Look at the VPN app window on your screen
- Find the status indicator, usually showing “Connected” or a green icon
- Some apps show how much data you’ve used while connected
- Your current server location should be displayed
Common Mistakes
Many people make preventable errors when setting up a VPN. Here are the biggest ones to avoid.
Mistake 1: Not Checking the Server Location
People often connect to VPN servers in wrong countries by accident. This matters because your IP address appears to come from that location. If you need a US IP address, make sure you select a US server before clicking connect.
Mistake 2: Entering Credentials Incorrectly
VPN credentials are case-sensitive. This means “Password123” is different from “password123.” Copy and paste your login information directly from your confirmation email instead of typing it manually.
Mistake 3: Forgetting to Close the Previous Connection
If you’re switching between VPN services, disconnect from the first one completely before connecting to another. Using two VPNs at once can actually slow down your connection and cause conflicts.
Mistake 4: Not Checking Your Firewall
Windows Firewall sometimes blocks VPN connections. If you can’t connect, check your firewall settings. You might need to allow the VPN app through the firewall or temporarily disable it to test.
Mistake 5: Ignoring Kill Switch Settings
Most modern VPN apps have a “kill switch” feature that cuts your internet if the VPN drops. Make sure this is enabled so your real IP never gets exposed accidentally.
Troubleshooting
Sometimes VPN setup doesn’t go smoothly. Here are solutions to common problems.
Problem: Can’t Connect to VPN Server
First, check your internet connection by opening a website without the VPN. If the website loads, your internet is fine. If you still can’t connect to the VPN, try these steps:
- Restart your VPN app completely by closing it and reopening it
- Select a different server location and try again
- Restart your computer
- Check your VPN account is active and hasn’t expired
- Contact your VPN provider’s support team if nothing works
Problem: VPN Connected but Internet is Slow
VPNs naturally slow down your connection slightly because your data travels through an extra server. However, dramatic slowdowns mean something’s wrong. Try these fixes:
- Switch to a different server location that’s closer to you
- Restart your router by unplugging it for 30 seconds
- Disconnect other devices from your Wi-Fi temporarily
- Choose a server in your own country instead of far away
- Try a wired connection instead of Wi-Fi
Problem: Windows Won’t Let App Install
If you see security warnings during installation, this is normal. Click “Yes” when Windows asks if you want to allow changes. Make sure you’re logged in with an admin account. If you’re on a work computer, you might need IT permission to install software.
Problem: Can’t Find the Download Button on Website
Some VPN websites look confusing. Try these tips: Look for a menu button (three horizontal lines) at the top of the page. Search for “Download” using Ctrl + F. Make sure you’re on the official website, not a fake one. Check the top right corner of the page.
Problem: VPN App Won’t Open After Installation
- Click the Windows Start button and search for your VPN app name
- If it doesn’t appear, uninstall and reinstall the app
- Right-click the installer and select “Run as administrator”
- Restart your computer and try again
- Contact support if the app still won’t launch
Questions People Ask
Q1: Is Using a VPN Legal in the United States?
Yes, using a VPN is completely legal in the US. You can use one for privacy, security, and accessing content. However, using a VPN to commit crimes is still illegal. Breaking terms of service on websites is also not protected by a VPN.
Q2: Will a VPN Hide My Activity From My Internet Provider?
Yes, a good VPN encrypts your traffic so your ISP can’t see what websites you visit. Your ISP will only see that you’re connected to a VPN server. They can’t see the specific sites you browse or data you send.
Q3: Can I Use a Free VPN Instead of Paying?
Free VPNs exist but have serious drawbacks. They often sell your data to advertisers, run slower than paid services, and have servers in limited locations. Most security experts recommend paid VPNs like ExpressVPN that cost around $10 monthly. The extra cost is worth the protection and speed.
Q4: Do I Need to Keep the VPN App Running All the Time?
Only while you want protection. When you disconnect, your VPN stops working. You can turn it on and off as needed. Some people leave it on all the time, while others only use it on public Wi-Fi. It’s your choice based on your privacy needs.
Conclusion
Setting up a VPN on Windows in 2026 is straightforward with the right instructions. Most people finish in under 20 minutes using a third-party app like ExpressVPN. The built-in Windows VPN method works too but requires more technical knowledge.
Start with downloading your chosen VPN app, install it, sign in with your credentials, and connect to a server. Verify your connection is working by checking your IP address online. If you run into problems, refer back to the troubleshooting section.
Your online privacy matters. A VPN is one of the simplest ways to protect yourself online. Take action today and secure your Windows device.